Showing posts with label project. Show all posts

Tuesday, July 24, 2012

Craft Time: DIY Sea Salt Hair Mist

So it's Summer Time. Summer means Beach means Ocean means Sexy Wavy Hair. I live in SoCal where beaches are just a drive away, but being the awesome busy me, I haven't gone to the beach at all this summer! (and my boyfriend lives in Newport Beach) Blasphemy! But anyways, I love my hair after the beach aka Mermaid Hair.

via
So I browsed around for some Sea Salt Hair Mist. I've been eyeballing the Bumble & Bumble one and my cousin recommended Josie Maran's version of her mist, but damn they're $$$.

Then I browsed around for DIY ones. Cool thing is it cost probably less than $5. Haha. And if you buy the items in full quantity, you save a load of dolla dolla billz. Who doesn't like saving?

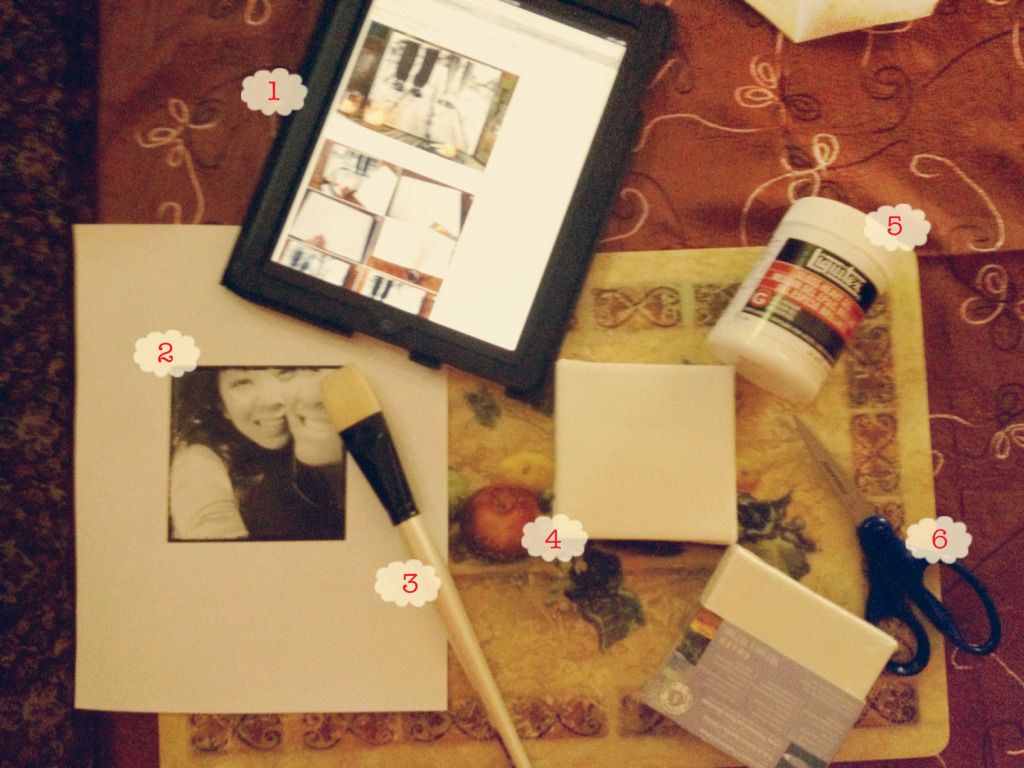
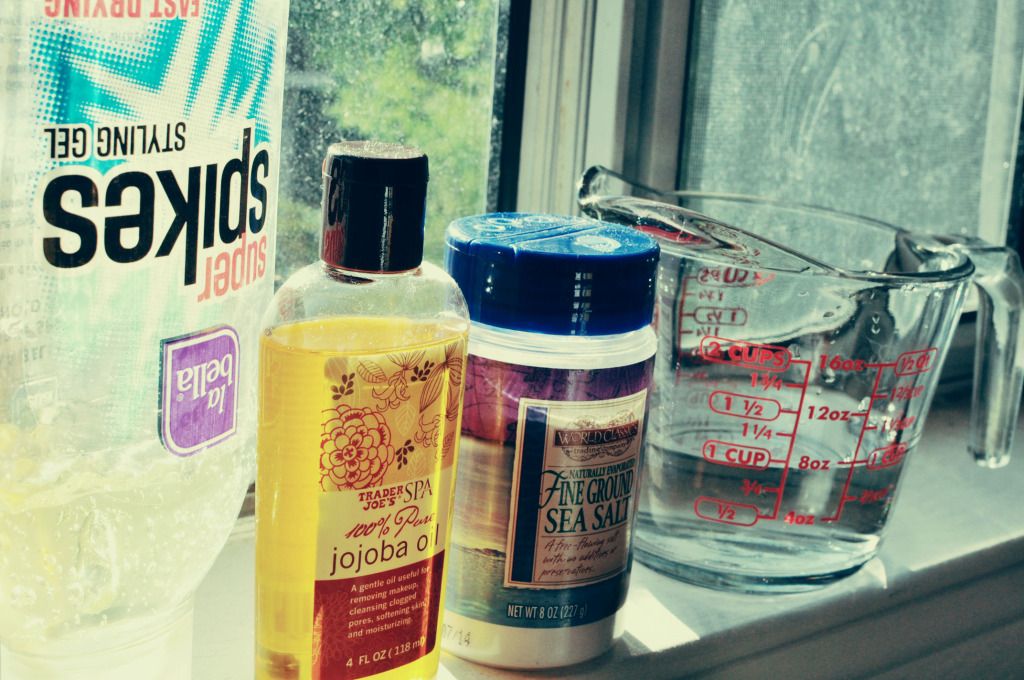
These are the things you need, my friend.


DIY Sea Salt Hair Mist.
adapted from Free People. Yes, the awesome clothing line.
  1. Hair Gel. Any hair gel would do. You just need a dollop of this.
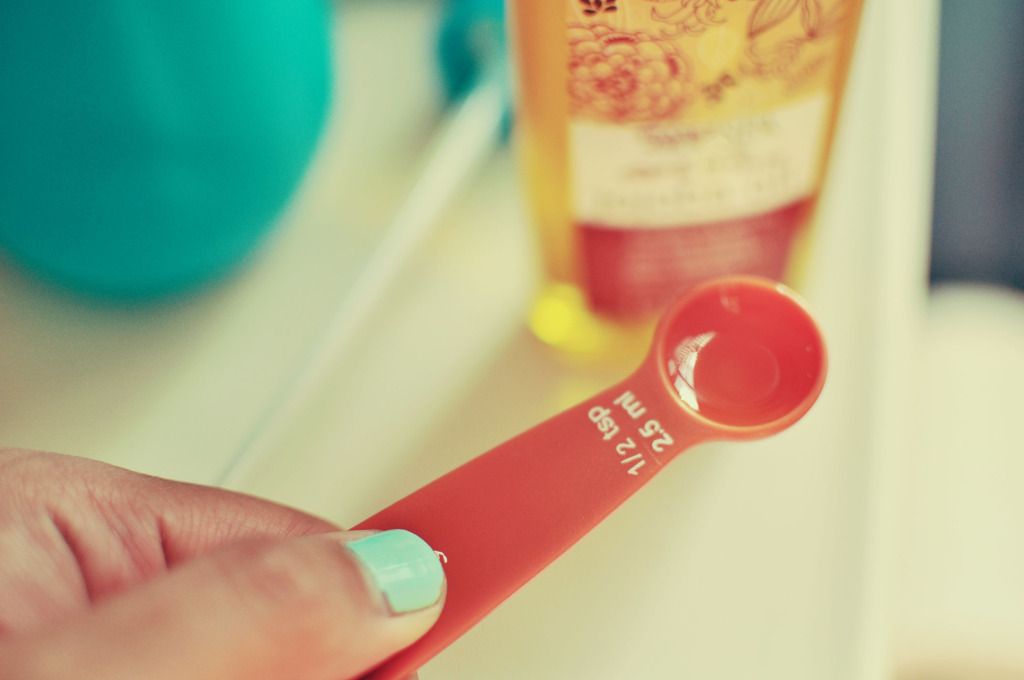
  2. Natural Oil. I love this Jojoba Oil I got from Trader Joe's. It's 100% natural and it's 100% well, Jojoba Oil. The fragrant's pretty mild. I use this oil for my face and cuticles. 
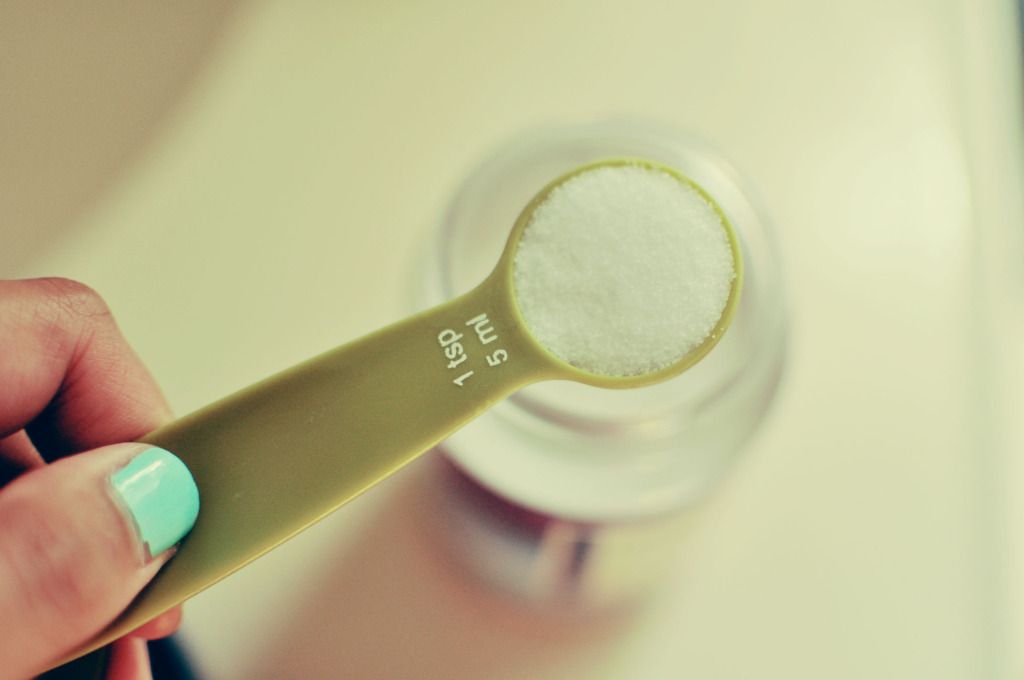
  3. Fine Ground Sea Salt. It must be Sea Salt. You can't use your regular table salt. 
  4. Plain ol' H2O, lukewarm. Some people use Rose Water, which I've yet to find. They said they go to a Middle Eastern Market. I need to find one!
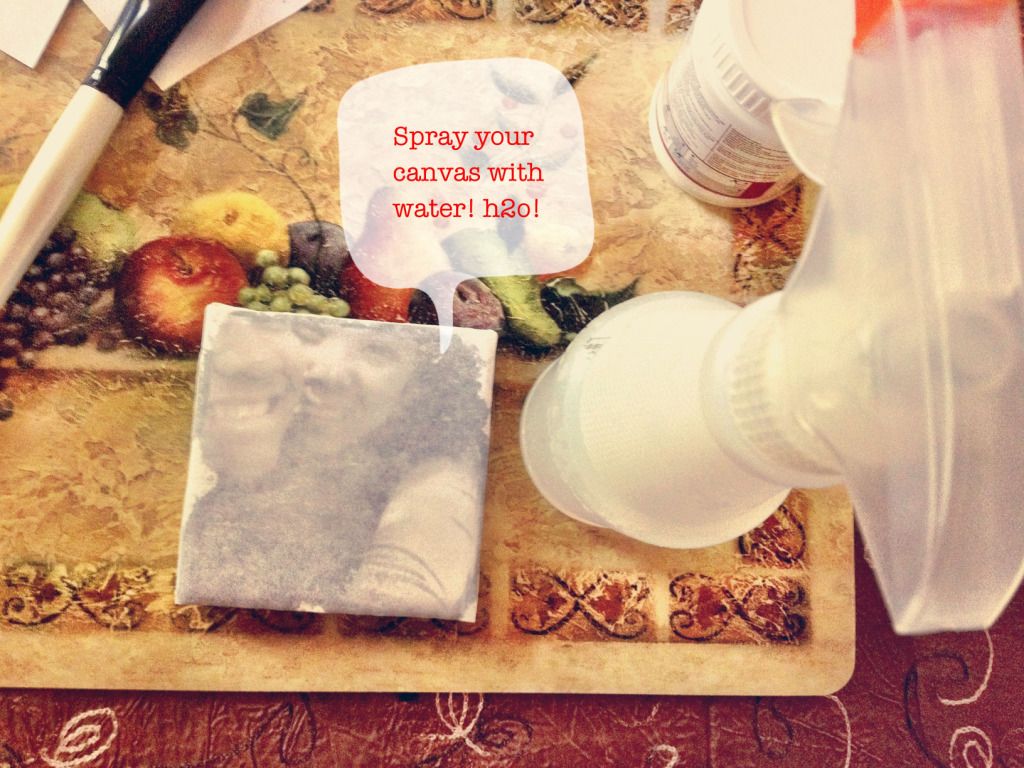
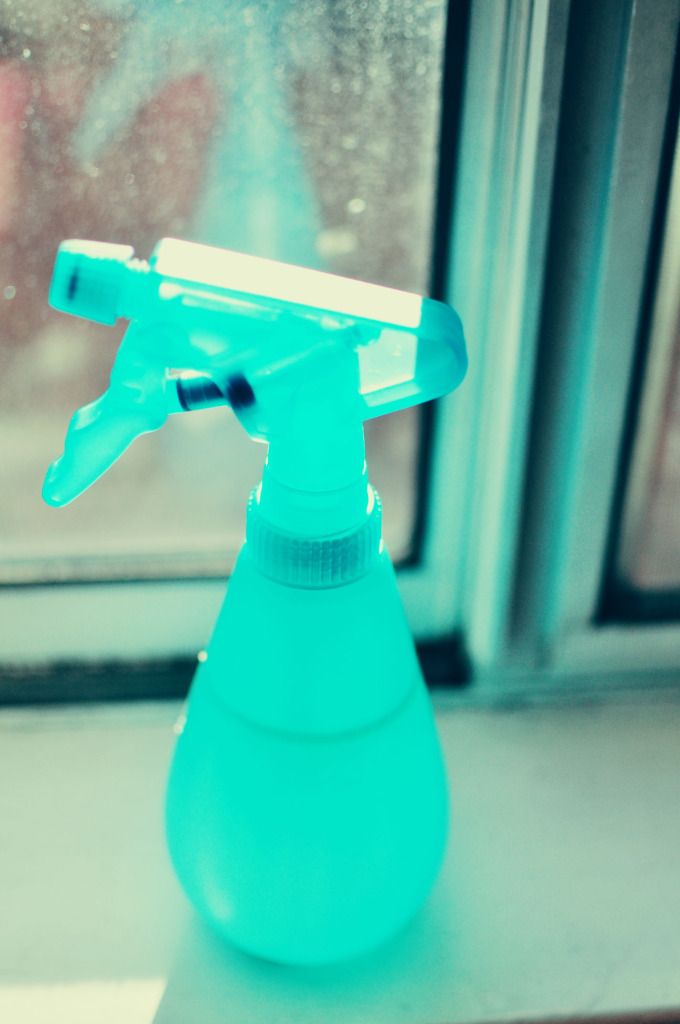
  5. A Spray Bottle (pictured later. It's Teal. Yay)
  6. optional: you can add any essence you love. I've read people put lavender, rose, citrus, coconut... Whatever floats your boat :)

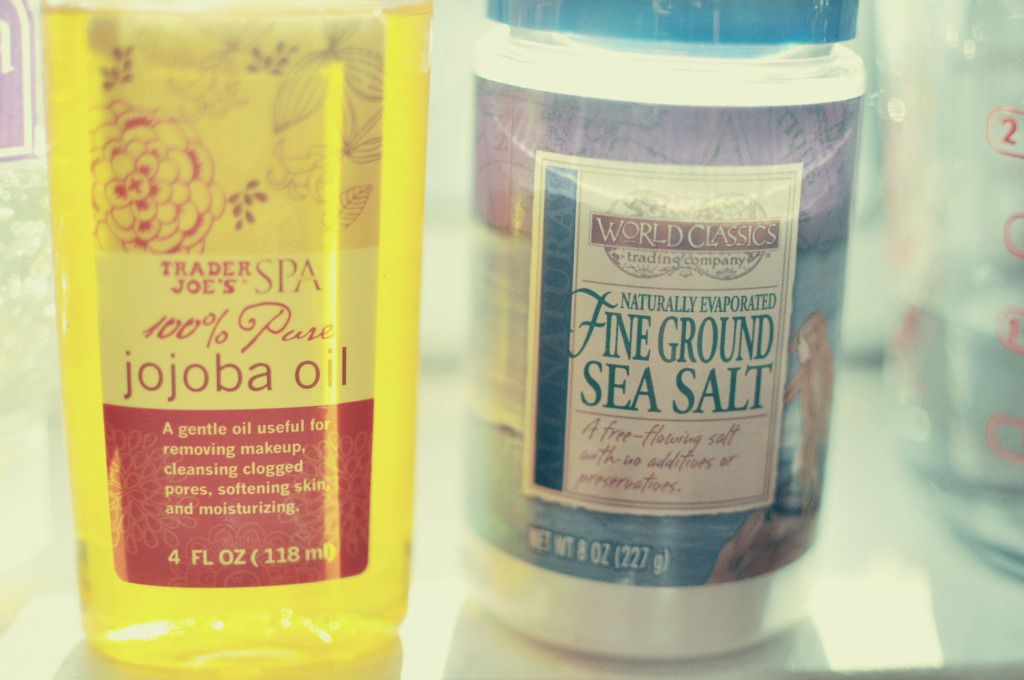
hey, there's a mermaid on the salt bottle!
So as for measurement:
  • For 8 oz of Water = 1 tsp of Fine Ground Sea Salt + 1/2 tsp of Natural Oil + a dollop of Gel.


Mix all ingredients in to the Spray Bottle and shake until well mixed. Make sure you shake your bottle before spraying any time you want to use the mist. Spray away and crunch (optional)


Sea Salt dries your hair like nobody's business. Hence the oil in the ingredients to moisture your hair. I wouldn't recommend using it everyday to prevent dryness to your awesome hair. You can use this mist on damp or dry hair.

Fortunately, my hair is naturally wavy. I just need to spray some to my hair just to enhance that beach hair of mine. But I do need trim, badly.

Make sure you condition your hair regularly :)

Well I hope this would cure your (or mine?) beach blues.


Tuesday, July 10, 2012

Craft Time: from Paper to Canvas


YAY! I did my first DIY in years. This craft is brought to you by awesome minds of Elsie & Emma of A Beautiful Mess. If you're a blogger, I'm pretty sure you have these 2 Fine Ladies in your Bloglovin! Recently Elsie brought up this project again and I couldn't help it to do one myself. So happy I did. Seriously, go to their page, they have a Q & A regarding this project.

Warning: Your image will be reversed. So if you want to transfer, let say, pictures with words, you might want to "reverse" your image on Photoshop (Image > Image Rotation > Flip Canvas Horizontal), and then print it, that way your transfered image will be the same alignment as the original picture. 


Things you need:
1. Obviously, A Beautiful Mess blog on board for guidance.
2. A Picture printed from a laser printer or copied from a Laser Copier on a piece of paper. Make sure the image is the same size or smaller than your Canvas.
3. A Paint Brush
4. A Canvas. For this project, I used a 4 x 4 canvas, which fits perfect for the Hiptagram image that I'll be using for this. Oh the possibilities to transfer Instagram pictures!
5. Gel Medium. Elsie uses Liquidex, which is what I used too. I got mine at Michael's (Painting Aisle) and it's about $13.99 for 8 oz. Get those 40% Off Coupons OUT!
6. Scissors, to (duh) trim your picture.
7. *not pictured* A Spray Bottle filled with Water


After trimming your picture and making sure it fits your canvas, brush a heavy coat of Gel Medium with your brush on to the canvas. If it gets on to your hands, it dries clear. And it's fun to peel off. Reminds me of the time in grade school where I put glue all over my palms so I can peel them. Oh what joy.

Place your picture on to the canvas. REMEMBER: Your image will be reversed. Let it dry completely... Hours or even over night. Since my canvas was so small, mine dried for about 2 hours.


Once your canvas is dry, spray it with the water and see it emerge. Haha, jk. If you're feeling hot, like the weather in California is now, you may spray your face too.


Now, rub the surface with your fingers, slowly but surely. This takes time. Your image will appear once the papers rub off. Patience, my dear.


Rub as much as you can without rubbing the image off.


Then layer the canvas with one coat of Gel Medium, let it dry, then you are DONE! Yaaaay!

My friends just came over and saw the canvas and they were like, "HOW DID YOU DO THAT?" And I gave them a live demo hahaha...


The first picture is one of my favorite picture of Rob & I. It was taken in Central Park, on our first NYC trip together, where it was blooming everywhere. I have some pretty blossom pictures that I would probably want to transfer! I just have to make a color copy of them! The second one is lyrics from our favorite Coldplay song, "Fix You". And I love lights. And Coldplay is my favorite band. 

This project is super easy and fun. I can't wait to go bigger on the canvas :)

moonbeams & bunny kisses,