Showing posts with label diy. Show all posts

Thursday, November 14, 2013

Let It Snow: DIY Mason Jar Snow Globe


 Who doesn't love snow globes? You know, growing up in the tropics, a girl can dream that she is having a White White Christmas with a snow globe, while it's super duper humid outside. A snow globe can sometimes be an escape from the real world, especially when things are kinda bad.

But, customizing your own snow globe ON A BUDGET is pretty bad ass. I'm pretty sure you've seen lots of tutorials out there on how to make your own snow globe, especially on Pinterest. But oh hay, I want to share one too. Why not? Join the club!

I love polar bears so for my little mason jar globe, I picked a snazzy white polar bear as my captive. Along with some Christmas Trees. 
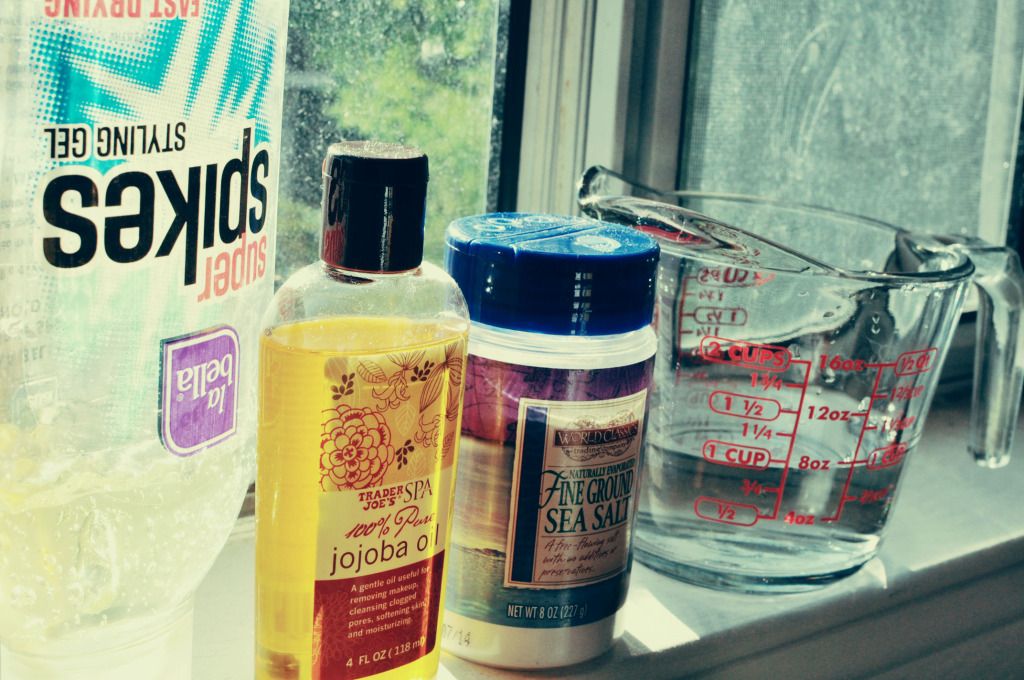
Things you need:
Waterproof Glue - I opted for the insane Gorilla Glue
Mason Jar - any size would do, but I recommend Wide Mouth jars
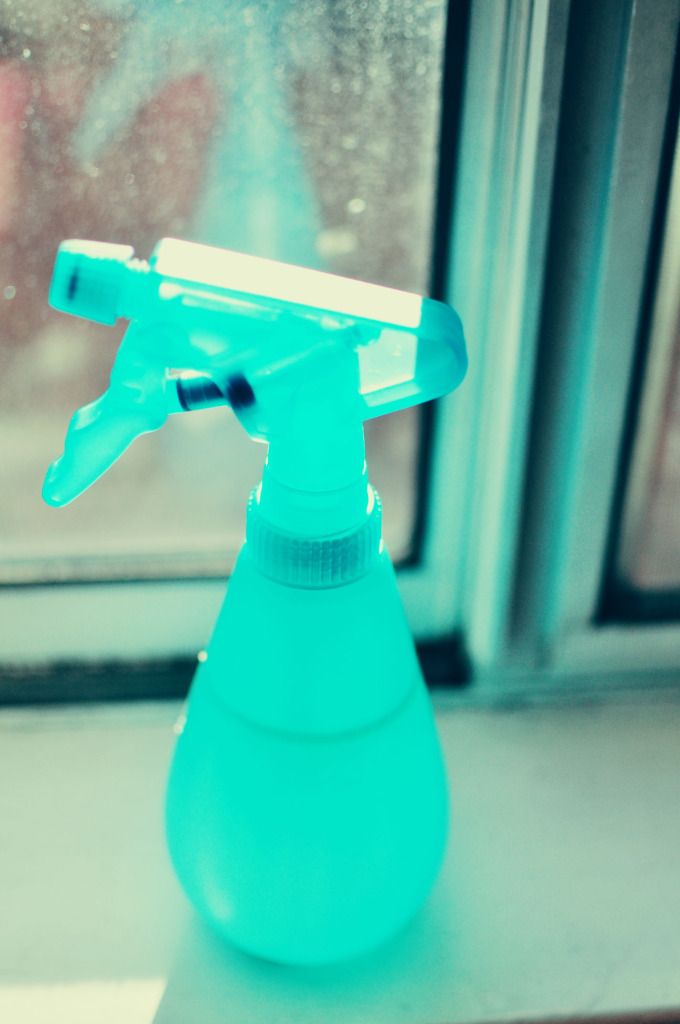
Water
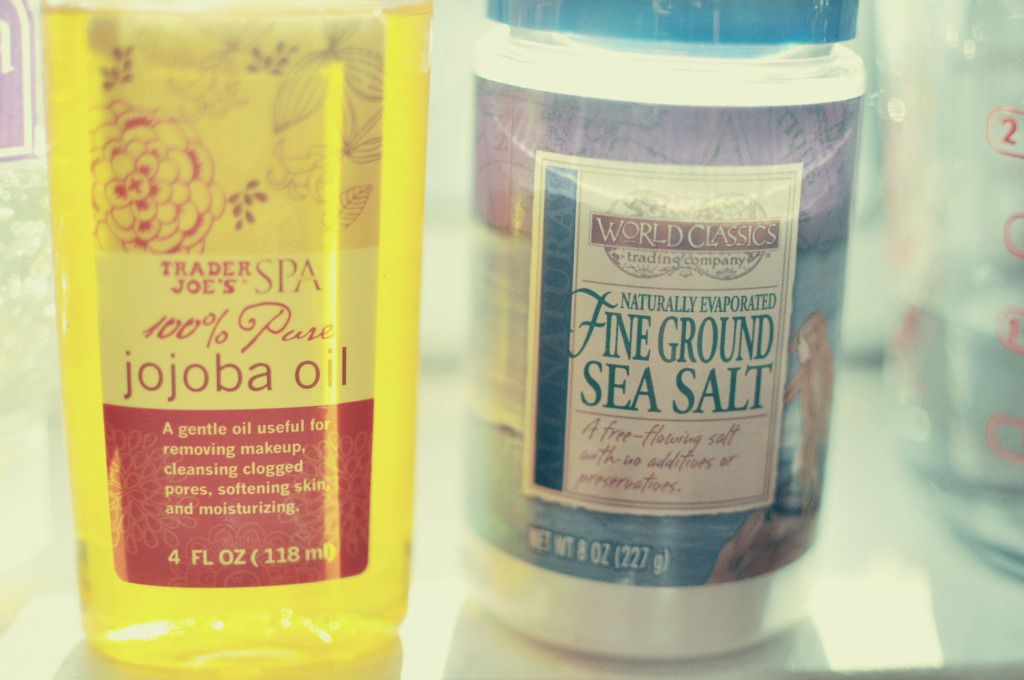
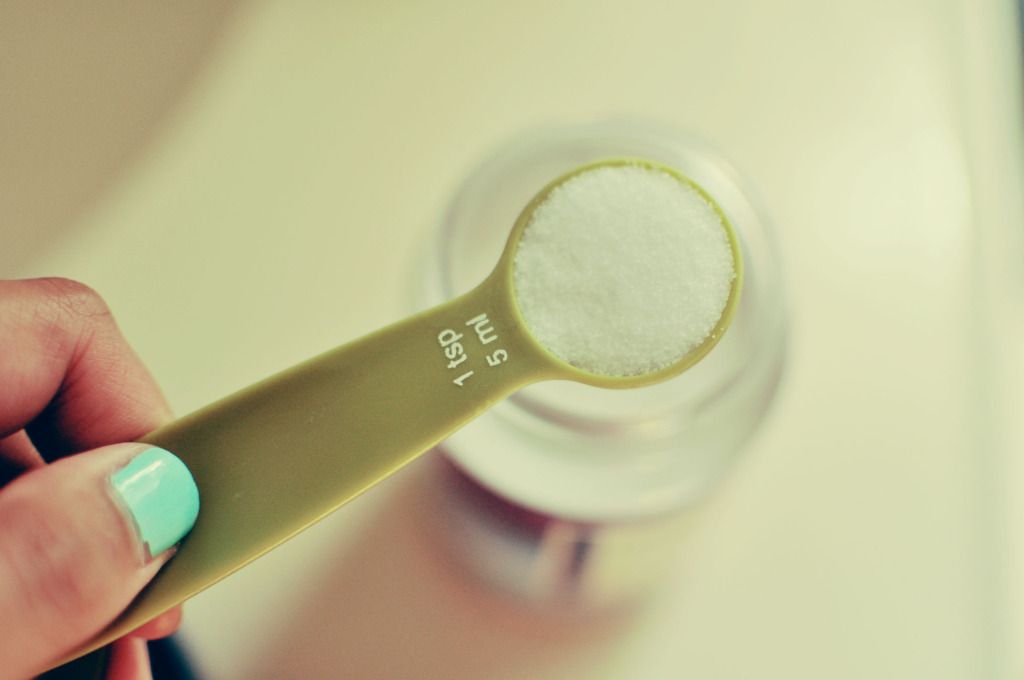
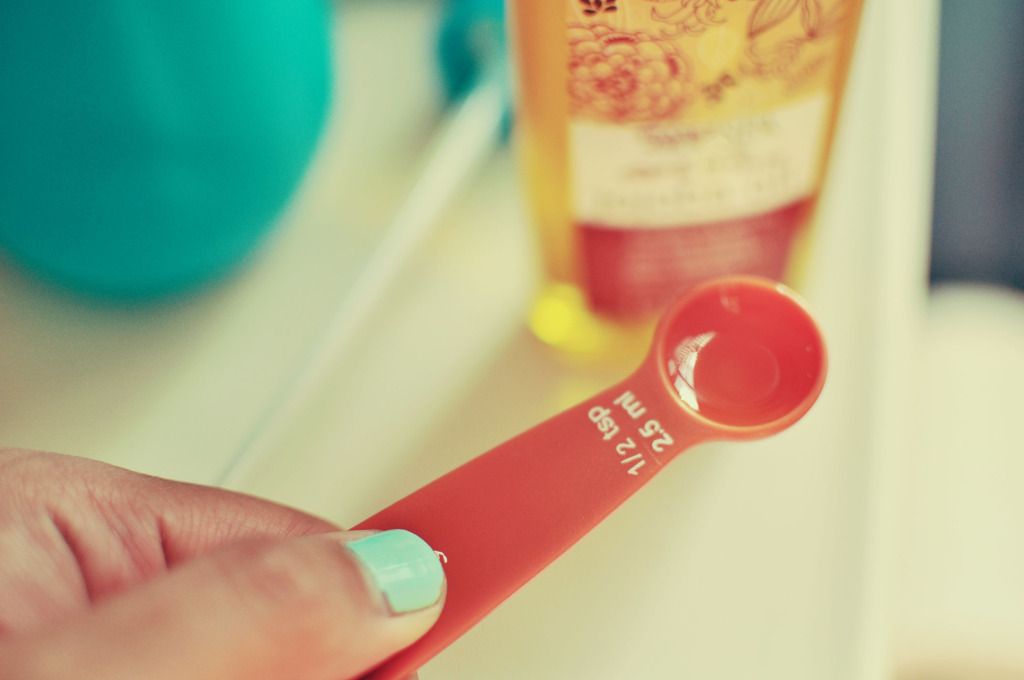
Glycerin - this would give that flowy affect for the glitters
Glitters
Plastic toys, trees, action heros, legos, whatever flows your boat
First, glue your toys to the lid of the jar. Let them dry completely. 
Fill your jar with water (leave a little room of space) and add several drops of glycerin. Not too much, though. You don't want your water to get all thick. Gross.
Add glitter. 
And watch the glitter goooooooooooooooooo...
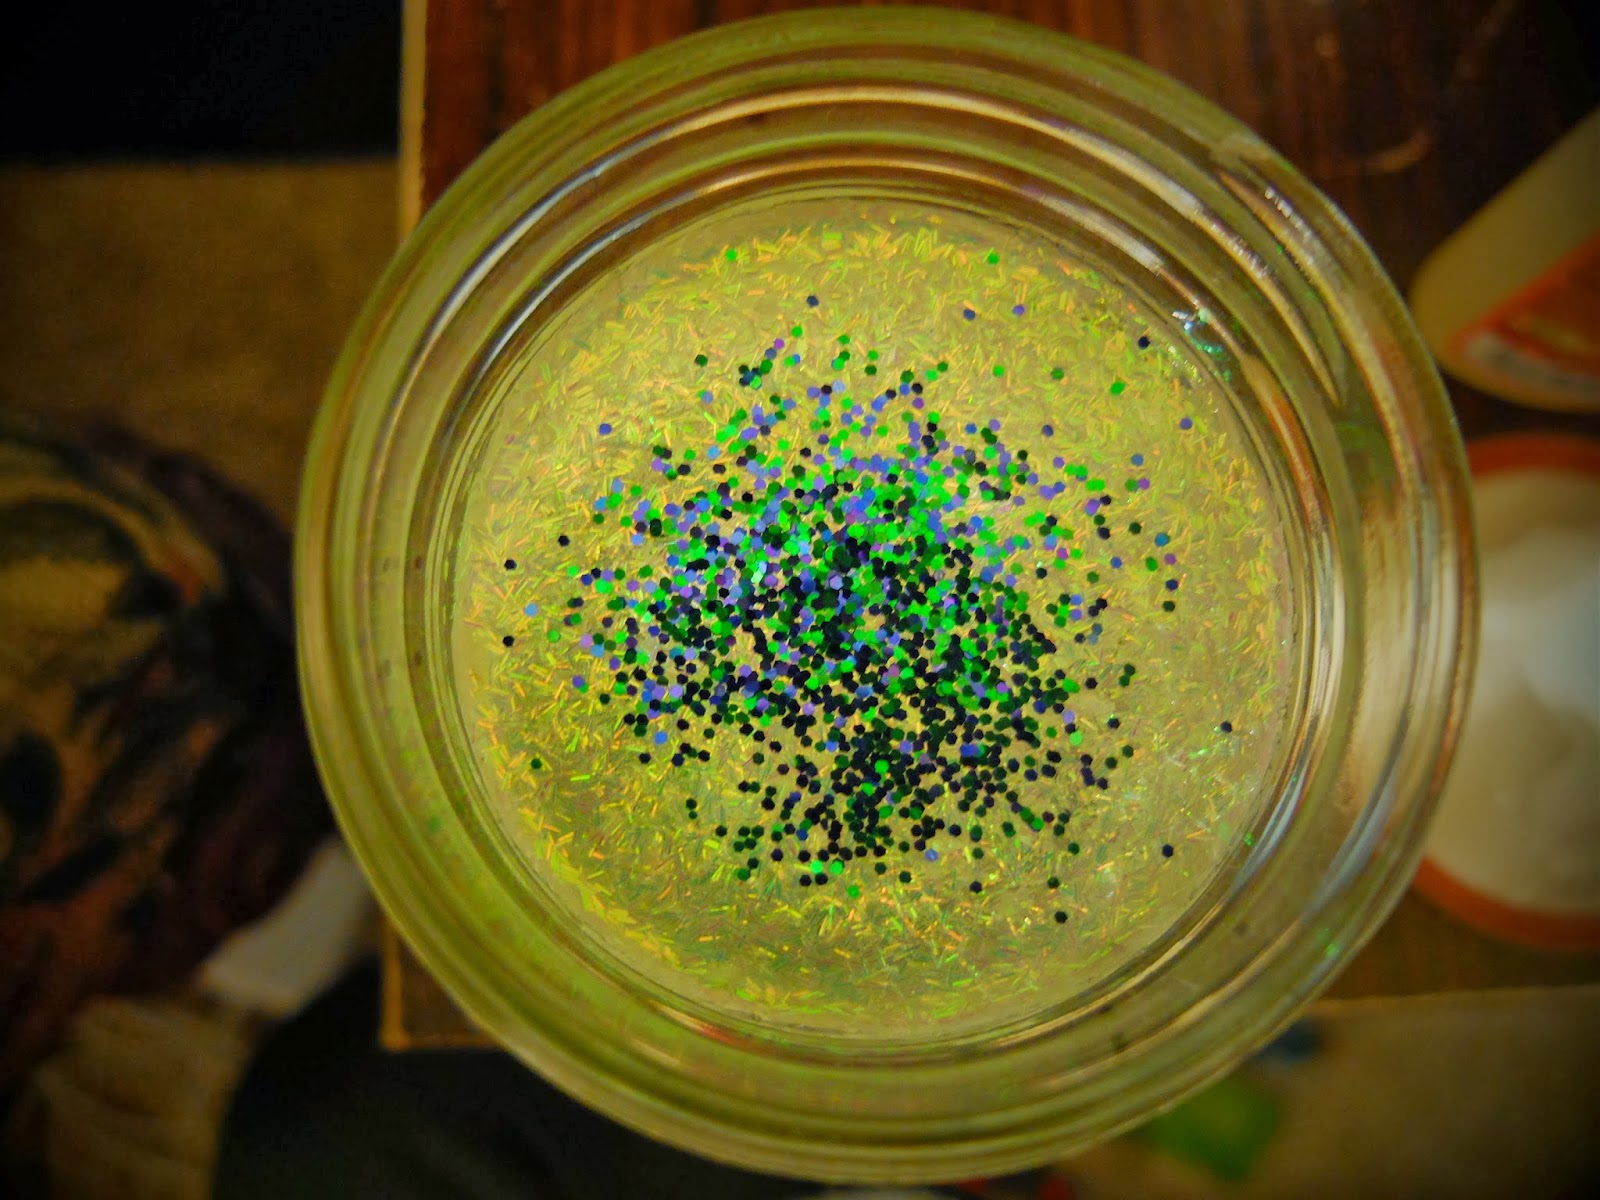
Oh and add more glitter. I like two tone colors. I decided to get mermaid colors. Because they are pretty.
Once your toys are completely glued on to the lid, flip it over and place on top of the jar.
Now close the jar completely & tightly (option: you can glue the outer ring to the jar if you want to). Hi upside down bear!
Flip over and enjoy!
This bear is fierce.

oh and haaay I made a quick clip on instagram :)

I'm super excited to do more of these. I think it would be a fun gift for the holidays. And talk about affordable! I'm actually going to make on right now for the Pillow... with Iron Man in it :)

xoxo,
Rima

Friday, August 3, 2012

Guest Post: Louise Amabilis


Hello again. While I'm roaming around the Big Apple in the heat, my friend from Sunny San Diego, Alex from Louise Amabilis has something to share. Thank you for having time to do this girl. I wanna make a teal one and make a huge hair pin/bow out of it. Wooooo. Sound like a legit plan. 

If you love vintage or styles from the 40s - 60s, please go visit her blog... or her pinterest. I'm an avid fan :) She also posts about her 2 adorable sons, Ford and Cash (How awesome is that? Super cool names!) who are goofballs in their own little kiddy way (I want to hug both of them). She loves Cookie Butter (who doesn't) and we both share the same love for Bangs. Yes. Bang girls reunite.
---

Hi! My name is Alex and I blog over on Louise Amabilis,
today I'm here filling in for Rima while she's letting out all her wonderful craziness
in the Big Apple! (lucky girl!) I'm going to share a super simple DIY with you guys
on how to make that pretty flower you see above, I hope some of you might try it out, 
it's pretty much fail proof!


So here it goes:


1. Supplies needed: some scraps of fabric, needle, thread, scissors, glue (not shown) and some buttons
2. Fold the edge of your fabric and cut a straight line that curves at the end, when unfolded your shape should look like this
3. Make 8 of these
4. Put your white school glue around the edges of your shapes and rub it all over with your fingers, make sure you get the edges good this will prevent fraying and the middle will get stiffer and hold it's shape once rubbed in let them dry for 5 min.


5. They will still be sticky so place them between 2 pieces of scrap fabric and iron until dry and somewhat stiff
6. Slightly trim the edges
7. With needle and thread gather the flat bottom edge of the petal and keep going into the next one until all are attached to the same thread
8. Pull them all the way onto the thread until you have 4 petals in a circle then spiral them up so that 4 petals are on top as well


9. Hand stitch the center of the flower so that all petals stay in place
10. Cut 2 circles out of your left over fabric the large one will go on the bottom of the flower, the small one will go in the top center
11.Cut 4 little V's out of the smaller circle to make an X 
12.Glue it in the center of the flower (for attaching the circle and V I would recommend a hot glue gun for a stronger hold) 


13.Hand stitch the buttons on top of the X (I put 2 different color buttons on top of each other)
14.Glue the larger circle to the bottom of your flower

And there you have it!
You made your very own flower : )
Now you can attach it to a hair clip, safety pin, hairband, purse you name it!
You could also make several of these in different sizes to attach to a throw pillow or even a dress.
If you have any questions just let me know and I'll be glad to help you out!

xo
Alex

blog  /   pinterest
---

Simple and easy right? Awesome. Fist pump to this awesomeness.

Thanks Alex for posting :)))))) You really deserve a cookie (in a jar?) Go check her out because she is awesome...


Tuesday, July 24, 2012

Craft Time: DIY Sea Salt Hair Mist

So it's Summer Time. Summer means Beach means Ocean means Sexy Wavy Hair. I live in SoCal where beaches are just a drive away, but being the awesome busy me, I haven't gone to the beach at all this summer! (and my boyfriend lives in Newport Beach) Blasphemy! But anyways, I love my hair after the beach aka Mermaid Hair.

via
So I browsed around for some Sea Salt Hair Mist. I've been eyeballing the Bumble & Bumble one and my cousin recommended Josie Maran's version of her mist, but damn they're $$$.

Then I browsed around for DIY ones. Cool thing is it cost probably less than $5. Haha. And if you buy the items in full quantity, you save a load of dolla dolla billz. Who doesn't like saving?

These are the things you need, my friend.


DIY Sea Salt Hair Mist.
adapted from Free People. Yes, the awesome clothing line.
  1. Hair Gel. Any hair gel would do. You just need a dollop of this.
  2. Natural Oil. I love this Jojoba Oil I got from Trader Joe's. It's 100% natural and it's 100% well, Jojoba Oil. The fragrant's pretty mild. I use this oil for my face and cuticles. 
  3. Fine Ground Sea Salt. It must be Sea Salt. You can't use your regular table salt. 
  4. Plain ol' H2O, lukewarm. Some people use Rose Water, which I've yet to find. They said they go to a Middle Eastern Market. I need to find one!
  5. A Spray Bottle (pictured later. It's Teal. Yay)
  6. optional: you can add any essence you love. I've read people put lavender, rose, citrus, coconut... Whatever floats your boat :)

hey, there's a mermaid on the salt bottle!
So as for measurement:
  • For 8 oz of Water = 1 tsp of Fine Ground Sea Salt + 1/2 tsp of Natural Oil + a dollop of Gel.


Mix all ingredients in to the Spray Bottle and shake until well mixed. Make sure you shake your bottle before spraying any time you want to use the mist. Spray away and crunch (optional)


Sea Salt dries your hair like nobody's business. Hence the oil in the ingredients to moisture your hair. I wouldn't recommend using it everyday to prevent dryness to your awesome hair. You can use this mist on damp or dry hair.

Fortunately, my hair is naturally wavy. I just need to spray some to my hair just to enhance that beach hair of mine. But I do need trim, badly.

Make sure you condition your hair regularly :)

Well I hope this would cure your (or mine?) beach blues.


Tuesday, July 10, 2012

Craft Time: from Paper to Canvas


YAY! I did my first DIY in years. This craft is brought to you by awesome minds of Elsie & Emma of A Beautiful Mess. If you're a blogger, I'm pretty sure you have these 2 Fine Ladies in your Bloglovin! Recently Elsie brought up this project again and I couldn't help it to do one myself. So happy I did. Seriously, go to their page, they have a Q & A regarding this project.

Warning: Your image will be reversed. So if you want to transfer, let say, pictures with words, you might want to "reverse" your image on Photoshop (Image > Image Rotation > Flip Canvas Horizontal), and then print it, that way your transfered image will be the same alignment as the original picture. 


Things you need:
1. Obviously, A Beautiful Mess blog on board for guidance.
2. A Picture printed from a laser printer or copied from a Laser Copier on a piece of paper. Make sure the image is the same size or smaller than your Canvas.
3. A Paint Brush
4. A Canvas. For this project, I used a 4 x 4 canvas, which fits perfect for the Hiptagram image that I'll be using for this. Oh the possibilities to transfer Instagram pictures!
5. Gel Medium. Elsie uses Liquidex, which is what I used too. I got mine at Michael's (Painting Aisle) and it's about $13.99 for 8 oz. Get those 40% Off Coupons OUT!
6. Scissors, to (duh) trim your picture.
7. *not pictured* A Spray Bottle filled with Water


After trimming your picture and making sure it fits your canvas, brush a heavy coat of Gel Medium with your brush on to the canvas. If it gets on to your hands, it dries clear. And it's fun to peel off. Reminds me of the time in grade school where I put glue all over my palms so I can peel them. Oh what joy.

Place your picture on to the canvas. REMEMBER: Your image will be reversed. Let it dry completely... Hours or even over night. Since my canvas was so small, mine dried for about 2 hours.


Once your canvas is dry, spray it with the water and see it emerge. Haha, jk. If you're feeling hot, like the weather in California is now, you may spray your face too.


Now, rub the surface with your fingers, slowly but surely. This takes time. Your image will appear once the papers rub off. Patience, my dear.


Rub as much as you can without rubbing the image off.


Then layer the canvas with one coat of Gel Medium, let it dry, then you are DONE! Yaaaay!

My friends just came over and saw the canvas and they were like, "HOW DID YOU DO THAT?" And I gave them a live demo hahaha...


The first picture is one of my favorite picture of Rob & I. It was taken in Central Park, on our first NYC trip together, where it was blooming everywhere. I have some pretty blossom pictures that I would probably want to transfer! I just have to make a color copy of them! The second one is lyrics from our favorite Coldplay song, "Fix You". And I love lights. And Coldplay is my favorite band. 

This project is super easy and fun. I can't wait to go bigger on the canvas :)

moonbeams & bunny kisses,